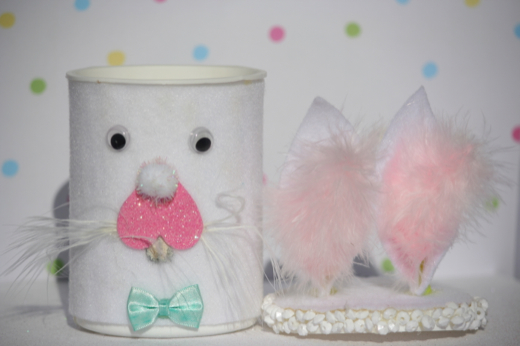
1 empty and clean & dry
1 8×10 sheet of white felt
Marker (grey)
Tiny bit of white paint and a small brush.
Heart shaped foam piece, or construction paper heart.
1 white or pink craft pom pom
2 Eyes
1 Feather
Glue (Hot glue if no children are involved. Fabric glue if you are enjoying this activity with the kiddos).
2- 2″ pieces of pink feather boa for crafting. (one large artificial pink flower can be used in place of this).
One small bow (optional)
*choice of lid liner* I used octagon shaped white beads, but you can use lace, ribbon or any other embellishment that you might have on hand.
Directions
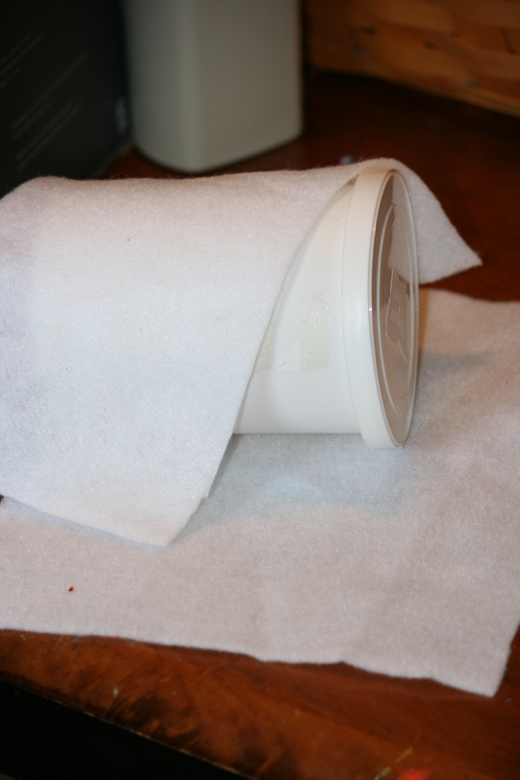
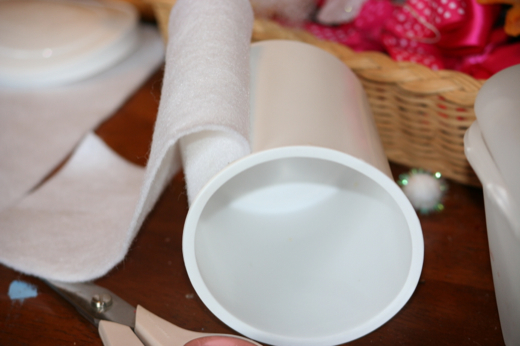
Start by cutting the felt to fit the can. Just lay the frosting container down and cut a piece of felt that will fit securely from just under the lid to the bottom of the container. (If your can has a larger circumference, just cut an extra piece of felt to cover the open space and use that for the back).
Starting from the back of the can (where they put the glue for the label) apply glue and lay down your felt smoothing between each bit of glue. I glued about 1 inch at a time.
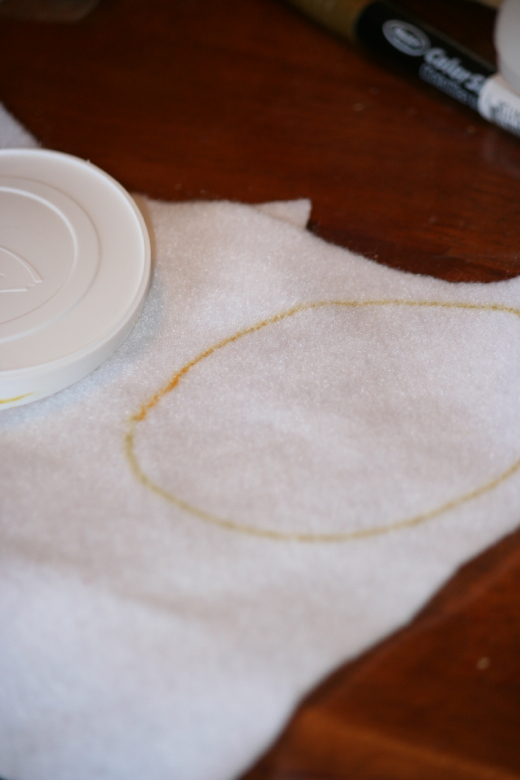
Lay the lid down on the felt and trace around the lid onto the felt with your marker.
Cut the circle and secure to the top, outside of the lid with glue.
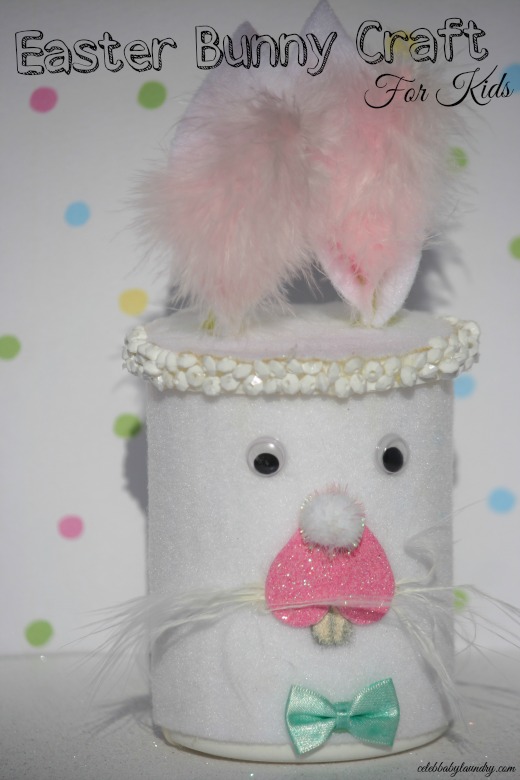
Add your embellishments.
Starting with the eyes and nose. Decide where you will want to put those and mark the spots with a small dot using your marker.
Glue the eyes, heart (upside down), whiskers (using white pieces of feather) and craft pom pom to the nose tip, and bow tie.
Using your grey marker draw 2 teeth from under the heart, and paint the teeth white to obscure the grey marker.
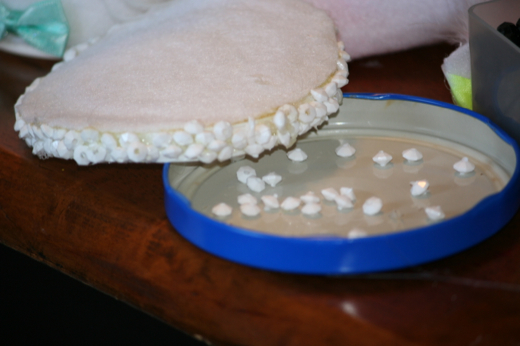
Add your embellishments around the rim of the lid to hide the plastic. In this case, I used white octagon beads. I applied them with a hot glue gun to ultimately secure them in place; and avoid losing them when I take the lid off.
For the ears: Cut 2 ear shaped pieces from the white felt. Think rounded bottom, with a triangular top.
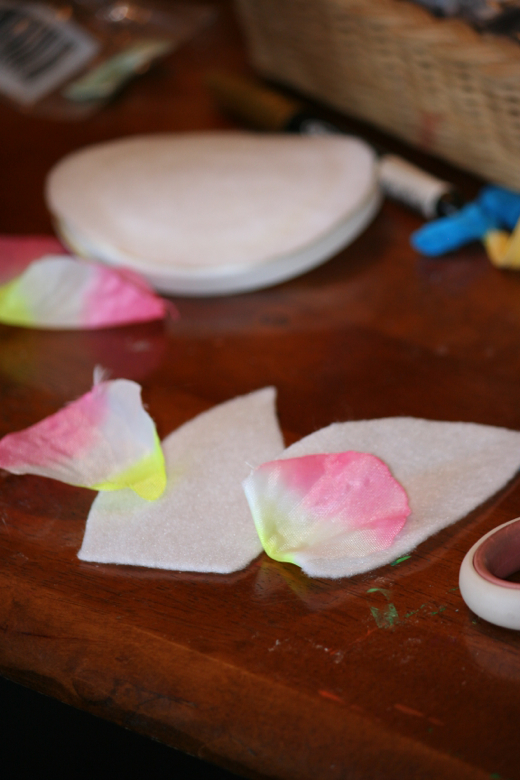
If you have artificial pink flowers to use, just cut one petal and glue inside the white ear.
If you are using pink boa glue 1/2 up the boa piece and secure to the white ear.
To secure the ears: pinch the bottom together and glue ends together, repeat for other side.
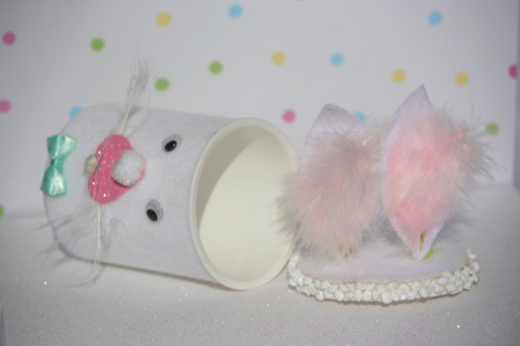
Glue the ears directly to the top of the lid. (I used a hot glue gun for this for more stabilized ears during lid removal).
**You may need to do this in steps to ensure proper glue drying**
Happy Easter!
Don’t forget to check out Cele Baby Laundry’s other crafts and DIY projects.
