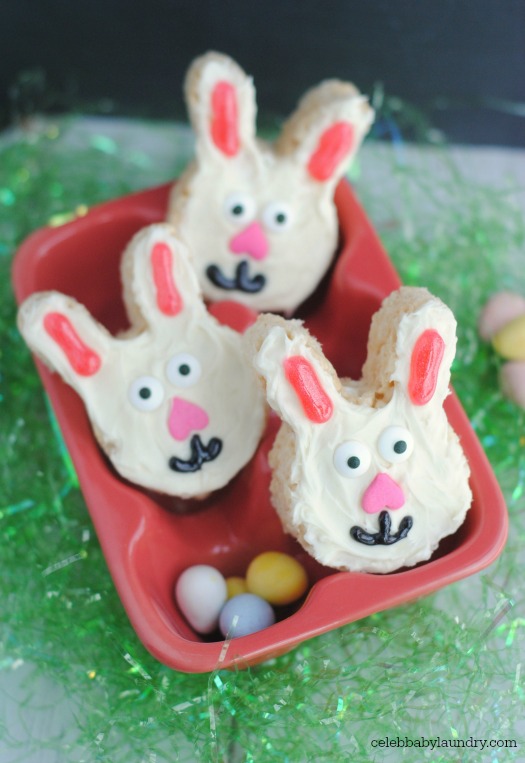
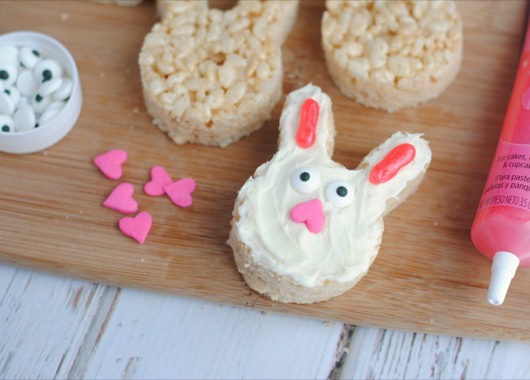
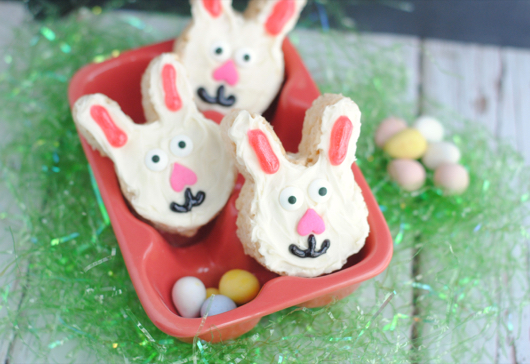
Looking for a cute Easter recipe kids and adults alike will love? Try making these Rice Krispie Treat Easter Bunnies. The homemade rice krispie’s are easy to shape with an Easter bunny face cookie cutter, so young children will have no problem taking part in the creation process. The bunny face is then made with some white frosting, gel, edible eyes, and an upside down heart.
Happy Easter!
Rice Krispe Ingredients
2 12 oz packages of large or mini marshmallows
1/2 C. butter
8 C. of crisped rice cereal
Directions
1. Slice your butter into 4 equal parts and place in a large saucepan allowing it to melt about 3/4 of the way.
2. Once the butter is about 3/4 melted – add in the 2 packages of marshmallows and turn the heat up to medium.
3. Stirring continuously, allow the marshmallows to melt about 3/4 of the way. Do NOT allow them to melt the entire way as this will over cook them. You actually want them still a little poofy in the saucepan.
4. Once the marshmallows melt about 3/4 of the way, add in the rice cereal 2-3 cups at a time. Do not stir. Rather, fold them up from the bottom of the saucepan, then press down with the spoon, and then fold them up again and then press down again. Add in another 2-3 cups of rice cereal and repeat the motion of folding and pressing down. Repeat until you’ve added all the rice cereal.
5. Pour the coated mixture into a 9×13 greased baking pan and gently press down with a your hand or the back of a large spoon (I sprayed mine with non stick spray so the bars wouldn’t stick).
4. Allow to cool a few hours before cutting with cookie cutters.
Bunny Treats Ingredients
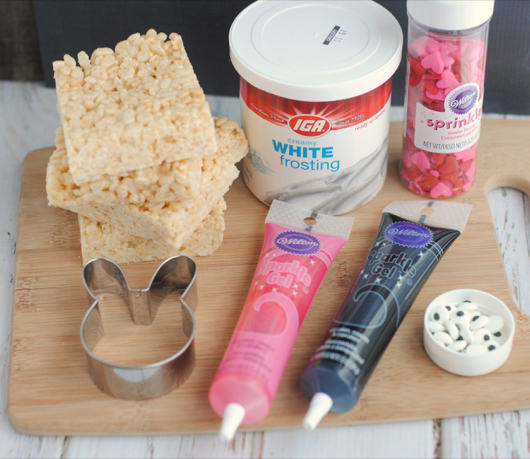
Bunny face cookie cutter
Wilton pink gel icing
Wilton black gel icing
Pink Wilton Valentine Hearts for the nose – IF you cannot find these,
use a pink Easter M&M 
Medium candy eyes
White frosting, any brand
Directions
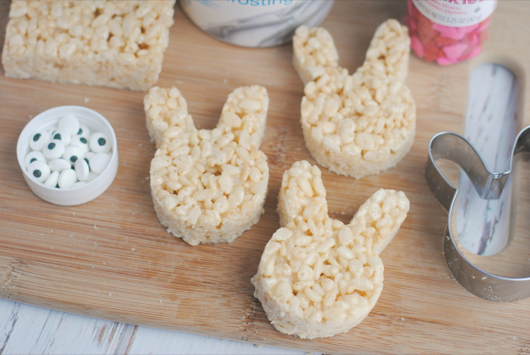
1. Use the Bunny cookie cutter to cut the crispy rice treats into bunny shapes. Try to get them as close as possible in the pan so you don’t waste a lot. Set aside and repeat.
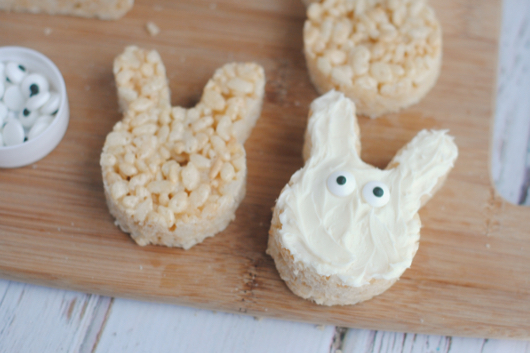
2. Frost each each Bunny with white frosting and give each Bunny 2 eyes (see photo). Use the Wilton pink gel frosting on the Bunny‘s ears – I did two easy short swoops.
3. Give each Bunny a nose – mine was the upside pink heart (see photo). Use the Wilton black gel icing to give each Bunny a mouth – make a J down from the Bunny‘s nose and then make a hook on the other side. Repeat with all the Bunnies. 
*Makes approximately 12 Bunnies in a 9×13 pan using a 2.5″ Bunny cookie cutter. The amount of bunnies you get is dependent on the size of your cookie cutter.
Enjoy!
